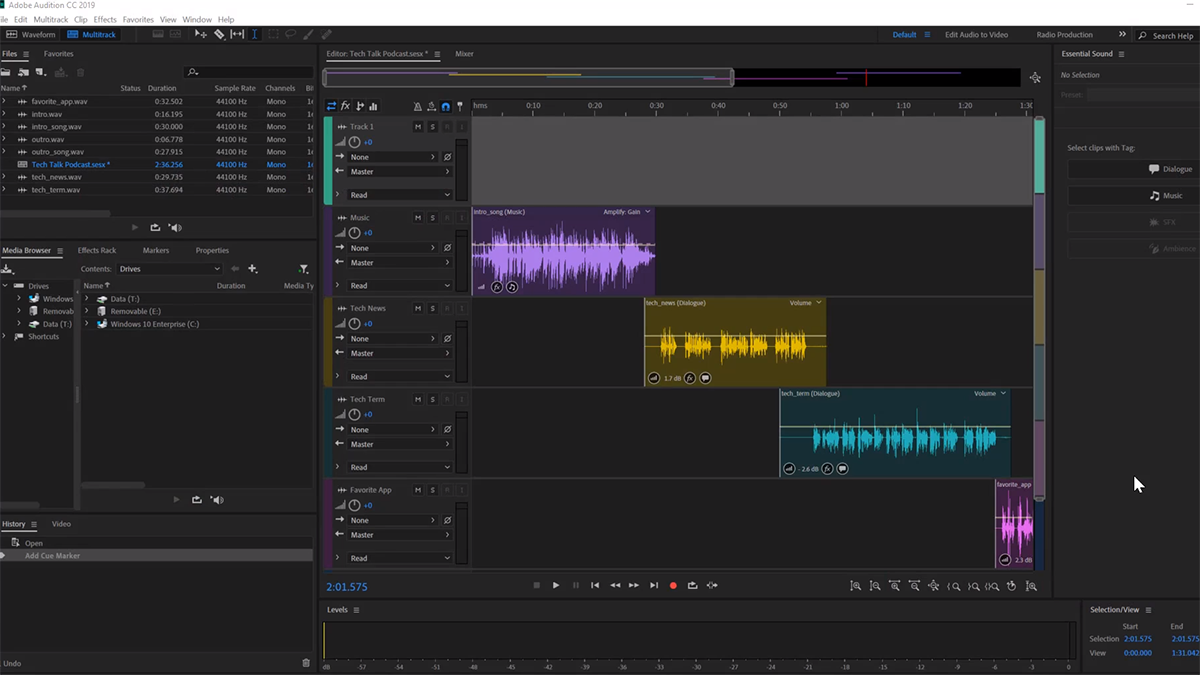
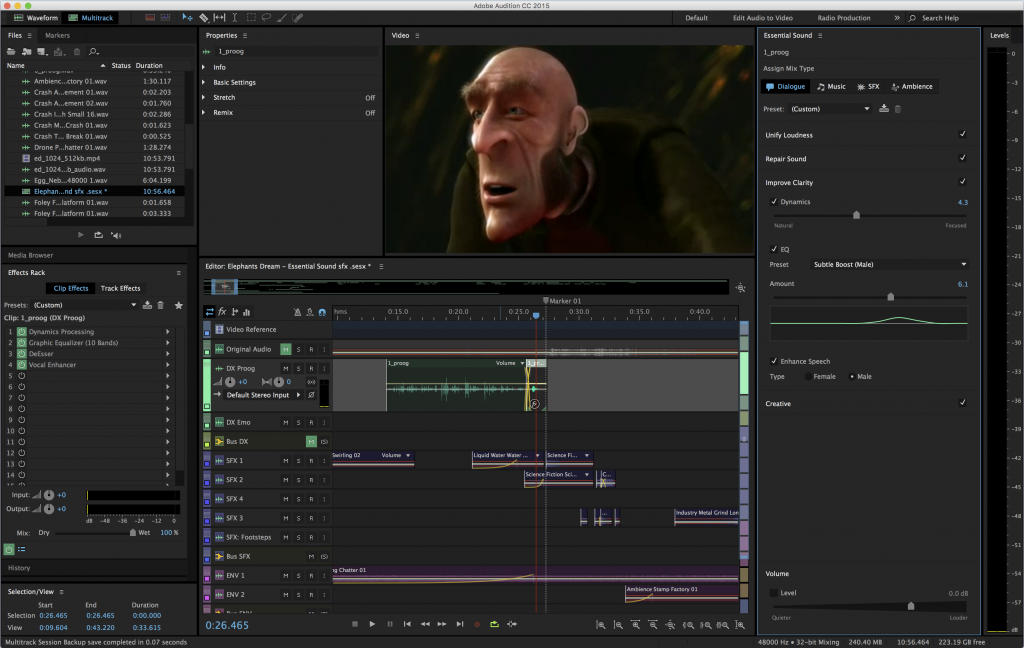
Adobe Audition is a powerful digital audio workstation that offers a range of advanced tools for audio restoration. Here are some advanced techniques you can use in Adobe Audition for audio restoration:
1. **Noise Reduction:**
– Select a portion of the audio that contains only the noise you want to remove. Go to Effects > Noise Reduction/Restoration > Capture Noise Print.
– Select the entire audio clip, or the portion you want to clean up.
– Go back to Effects > Noise Reduction/Restoration > Noise Reduction (Process).
– Adjust the settings to control the amount of noise reduction. Be cautious not to over-process, as it may result in artifacts.
2. **Spectral Frequency Display:**
– Use the Spectral Frequency Display to visually identify unwanted elements like clicks, pops, or background noise.
– Zoom in on the waveform and use the various selection tools to isolate the problematic areas.
3. **DeClicker and DeCrackler:**
– Adobe Audition has specialized tools for removing clicks and crackles. Go to Effects > Noise Reduction/Restoration > DeClicker or DeCrackler.
– Adjust the settings to target the specific characteristics of the clicks or crackles.
4. **DeClipper:**
– If your audio has clipped or distorted sections, use the DeClipper tool (Effects > Restoration > DeClipper) to restore the clipped portions. Adjust the settings based on the severity of clipping.
5. **DeHummer:**
– If your audio has a hum or unwanted tonal noise, use the DeHummer tool (Effects > Noise Reduction/Restoration > DeHummer) to reduce or remove it. Adjust the frequency and reduction settings accordingly.
6. **Adaptive Noise Reduction:**
– This feature adapts to changes in noise over time. Select a portion of audio that contains only noise, go to Effects > Noise Reduction/Restoration > Adaptive Noise Reduction, and adjust the settings.
7. **Manual Pitch Correction:**
– If you have variations in pitch that need correction, use the Pitch Shifter effect under the Effects menu. You can manually adjust the pitch to correct any inconsistencies.
8. **Equalization (EQ):**
– Use EQ to reduce or eliminate specific frequencies that contribute to unwanted noise. The Parametric Equalizer effect allows you to precisely target and adjust specific frequency ranges.
9. **Time Stretching and Pitch Shifting:**
– If you need to correct timing issues or adjust the pitch without affecting speed, use the Time and Pitch > Stretch and Pitch effect.
10. **Preview and A/B Comparison:**
– Always preview your changes in real-time and use the A/B Comparison feature to compare the original and processed audio.
Remember to work on a copy of your audio file to preserve the original in case you need to start over. Experiment with different settings and combinations of tools to achieve the best results for your specific audio restoration needs.


