Adobe Audition is a powerful digital audio workstation that provides various tools and features for editing and enhancing audio recordings. Noise reduction is a common task in audio editing, especially when dealing with recordings that have unwanted background noise. Here are some noise reduction techniques in Adobe Audition:
### 1. **Capture Noise Print:**
– Before applying noise reduction, you need to capture a noise print. Select a portion of the audio that contains only the background noise you want to remove.
– Go to “Effects” > “Noise Reduction/Restoration” > “Capture Noise Print.” This tells Audition what kind of noise you want to reduce.
### 2. **Noise Reduction (Process):**
– After capturing the noise print, go to “Effects” > “Noise Reduction/Restoration” > “Noise Reduction (Process).”
– Adjust the settings, such as “Noise Reduction” and “Reduce By,” to control how much noise reduction is applied.
– Preview the changes and click “Apply” when satisfied.
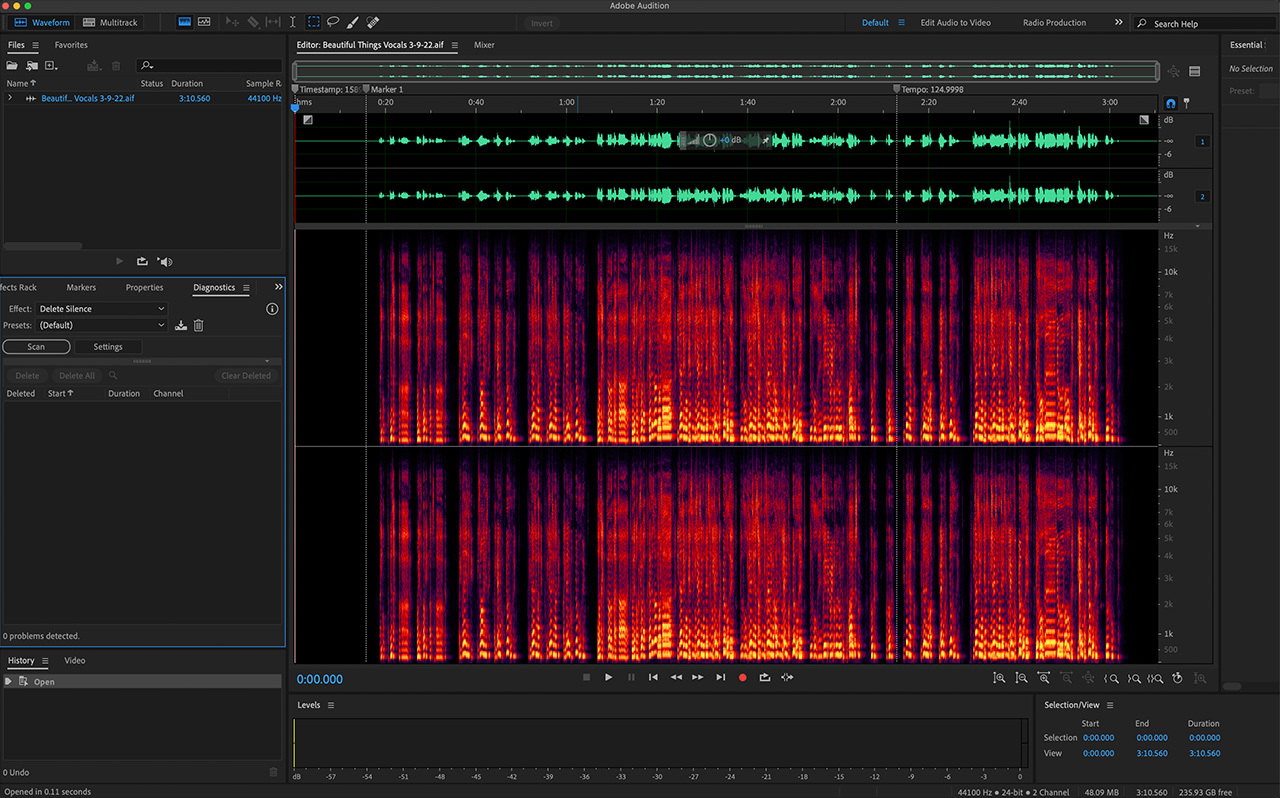
### 3. **Spectral Frequency Display:**
– Use the Spectral Frequency Display to visually identify and isolate the noise in the frequency spectrum.
– Zoom in on the spectral display to pinpoint specific frequencies of the noise you want to reduce.
– Apply the noise reduction process selectively to those frequencies.
### 4. **Adaptive Noise Reduction:**
– Audition has an “Adaptive Noise Reduction” effect that can automatically analyze and reduce constant background noise.
– Select the audio region with the noise, then go to “Effects” > “Noise Reduction/Restoration” > “Adaptive Noise Reduction.”
– Adjust the settings to fine-tune the noise reduction process.
### 5. **Hiss Reduction and DeHummer:**
– For specific types of noise like hiss or hum, Audition offers specialized effects such as “Hiss Reduction” and “DeHummer.”
– Experiment with these effects to target and reduce specific types of noise.
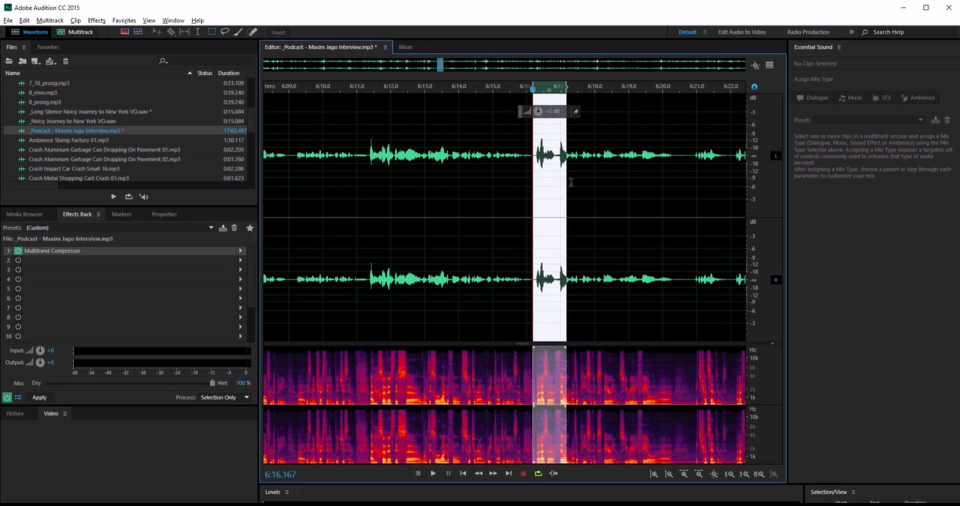
### 6. **Multiband Compressor:**
– The Multiband Compressor can help reduce noise in specific frequency ranges.
– Adjust the settings to compress or limit the amplitude of certain frequency bands where noise is prominent.
### 7. **Manual Editing:**
– In some cases, manual editing might be necessary. Use the selection tools to isolate and delete sections of audio containing noise.
### 8. **Restoration Effects:**
– Explore other restoration effects like “DeClicker,” “DeClipper,” or “DeEsser” depending on the nature of the noise in your recording.
### 9. **Layered Processing:**
– Consider applying noise reduction in multiple passes with different settings for optimal results. Be cautious not to over-process, as it may affect the quality of the audio.
### 10. **Preview and Fine-Tune:**
– Always preview the audio before and after applying noise reduction to ensure that it sounds natural and that important audio details are not being lost.
Remember to always save your work before applying significant changes, and make use of Audition’s undo feature if needed. Additionally, it’s crucial to use a good pair of headphones or studio monitors to accurately monitor the changes you’re making to the audio.