Editing a podcast with Adobe Audition can be a rewarding process, offering a range of tools and features to enhance your audio content. Below is a comprehensive guide to podcast editing using Adobe Audition:
### 1. **Importing Your Audio:**
– Open Adobe Audition and create a new multitrack session.
– Import your podcast audio files by dragging them into the project or using the “File” > “Import” option.
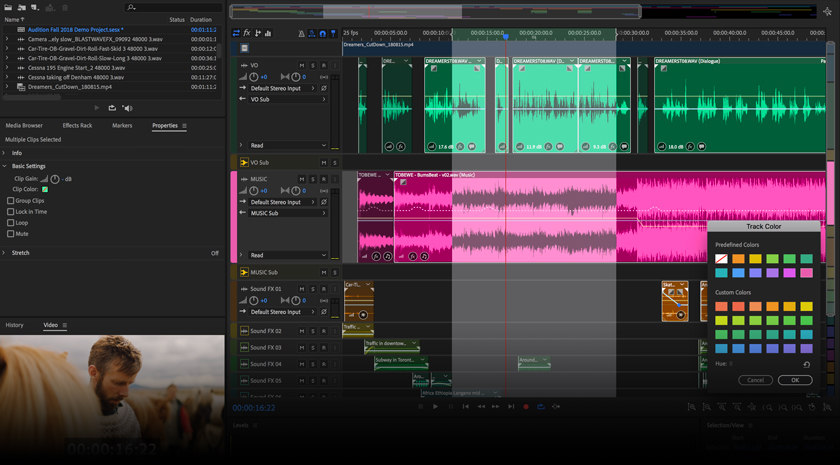
### 2. **Setting Up Your Workspace:**
– Familiarize yourself with the multitrack and editing workspaces.
– Arrange tracks for host, guest, and additional audio elements.
### 3. **Basic Editing:**
– Trim unnecessary sections, like long pauses or mistakes, using the razor tool.
– Use the time selection tool to highlight and delete or move sections.
– Employ the cut, copy, and paste functions for precise editing.
### 4. **Enhancing Audio Quality:**
– Use the “Effects Rack” to apply EQ, compression, and noise reduction.
– Adobe Audition’s Essential Sound Panel can simplify this process for beginners.
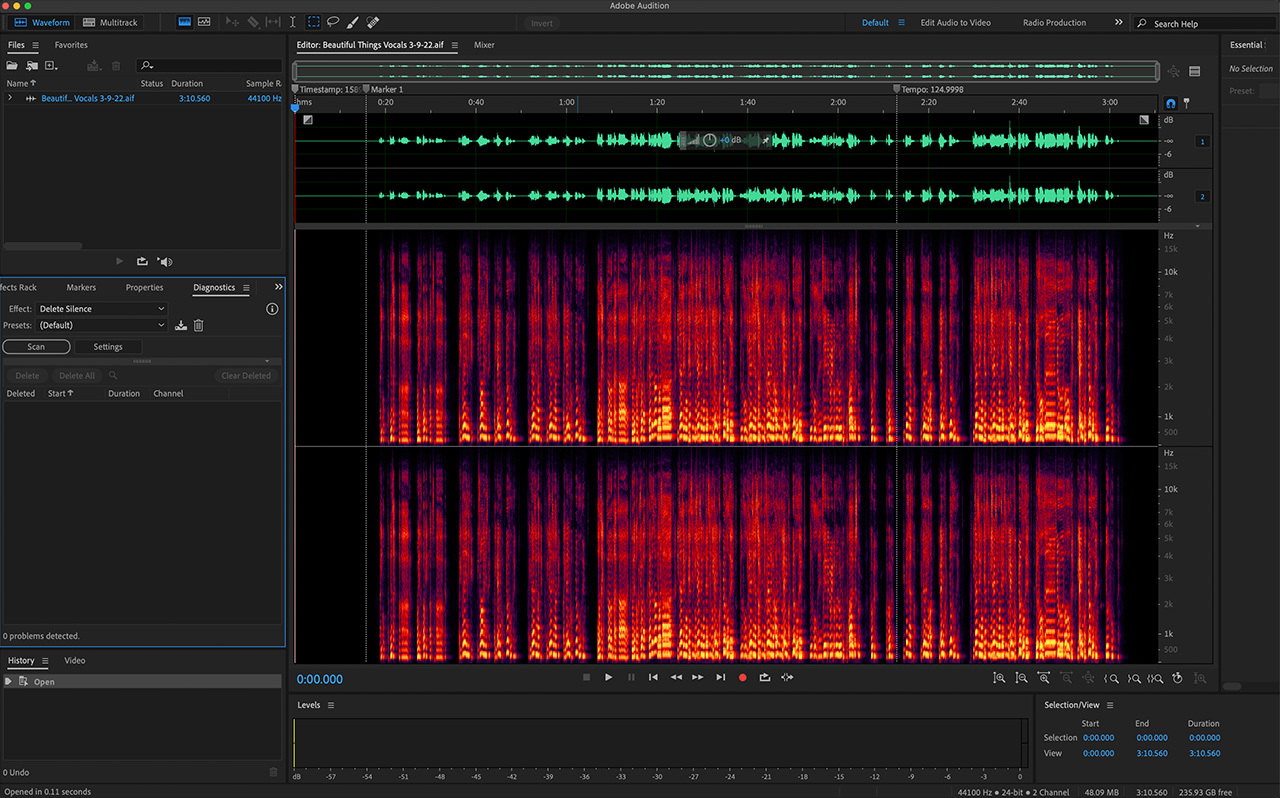
### 5. **Removing Background Noise:**
– Identify and reduce background noise using the Noise Reduction/Restoration effects.
– Capture a noise print for targeted noise removal.
### 6. **Volume Adjustment:**
– Normalize audio levels using the “Amplitude and Compression” tools.
– Adjust volume levels for consistency across the podcast.
### 7. **Adding Music and Sound Effects:**
– Import background music or sound effects on separate tracks.
– Adjust volume levels to ensure a balanced mix with the main audio.
### 8. **Using Automation:**
– Automate volume levels over time, especially for intros, outros, or sections with varying audio levels.
### 9. **Adding Transitions:**
– Use crossfades or other transitions between different audio segments to create a smooth listening experience.
### 10. **Mastering Your Podcast:**
– Apply a mastering effect to the final mix for overall polish.
– Experiment with the “Match Loudness” feature to meet broadcast loudness standards.
### 11. **Exporting Your Podcast:**
– Select the appropriate export settings (e.g., MP3 or WAV format).
– Configure bitrate and other settings based on your podcast hosting platform’s requirements.
### 12. **Saving and Backup:**
– Save your Adobe Audition project regularly.
– Create backups of your project files to avoid data loss.
### 13. **Learning Shortcuts:**
– Familiarize yourself with keyboard shortcuts to speed up your workflow.
### 14. **Testing Your Edit:**
– Listen to the entire edited podcast to catch any overlooked issues.
### 15. **Exporting ID3 Tags:**
– Add metadata such as title, artist, and episode information for proper podcast tagging.
### 16. **File Organization:**
– Keep your project files, raw recordings, and exported files organized for easy access and future reference.
### 17. **Staying Updated:**
– Stay informed about Adobe Audition updates and new features.
By following these steps, you can create a well-edited podcast using Adobe Audition, enhancing both the audio quality and overall listening experience for your audience.