Cloning your disk with Acronis True Image can be a straightforward process if you follow best practices. Here’s a step-by-step guide along with some recommendations:
### Before You Begin:
1. **Backup Important Data:**
– Before any disk operations, ensure you have a recent backup of your important data. While cloning is generally safe, there’s always a risk of data loss, and having a backup is a good precaution.
2. **Check Compatibility:**
– Ensure that Acronis True Image is compatible with your system and the type of disks you’re working with.
### Cloning Process:
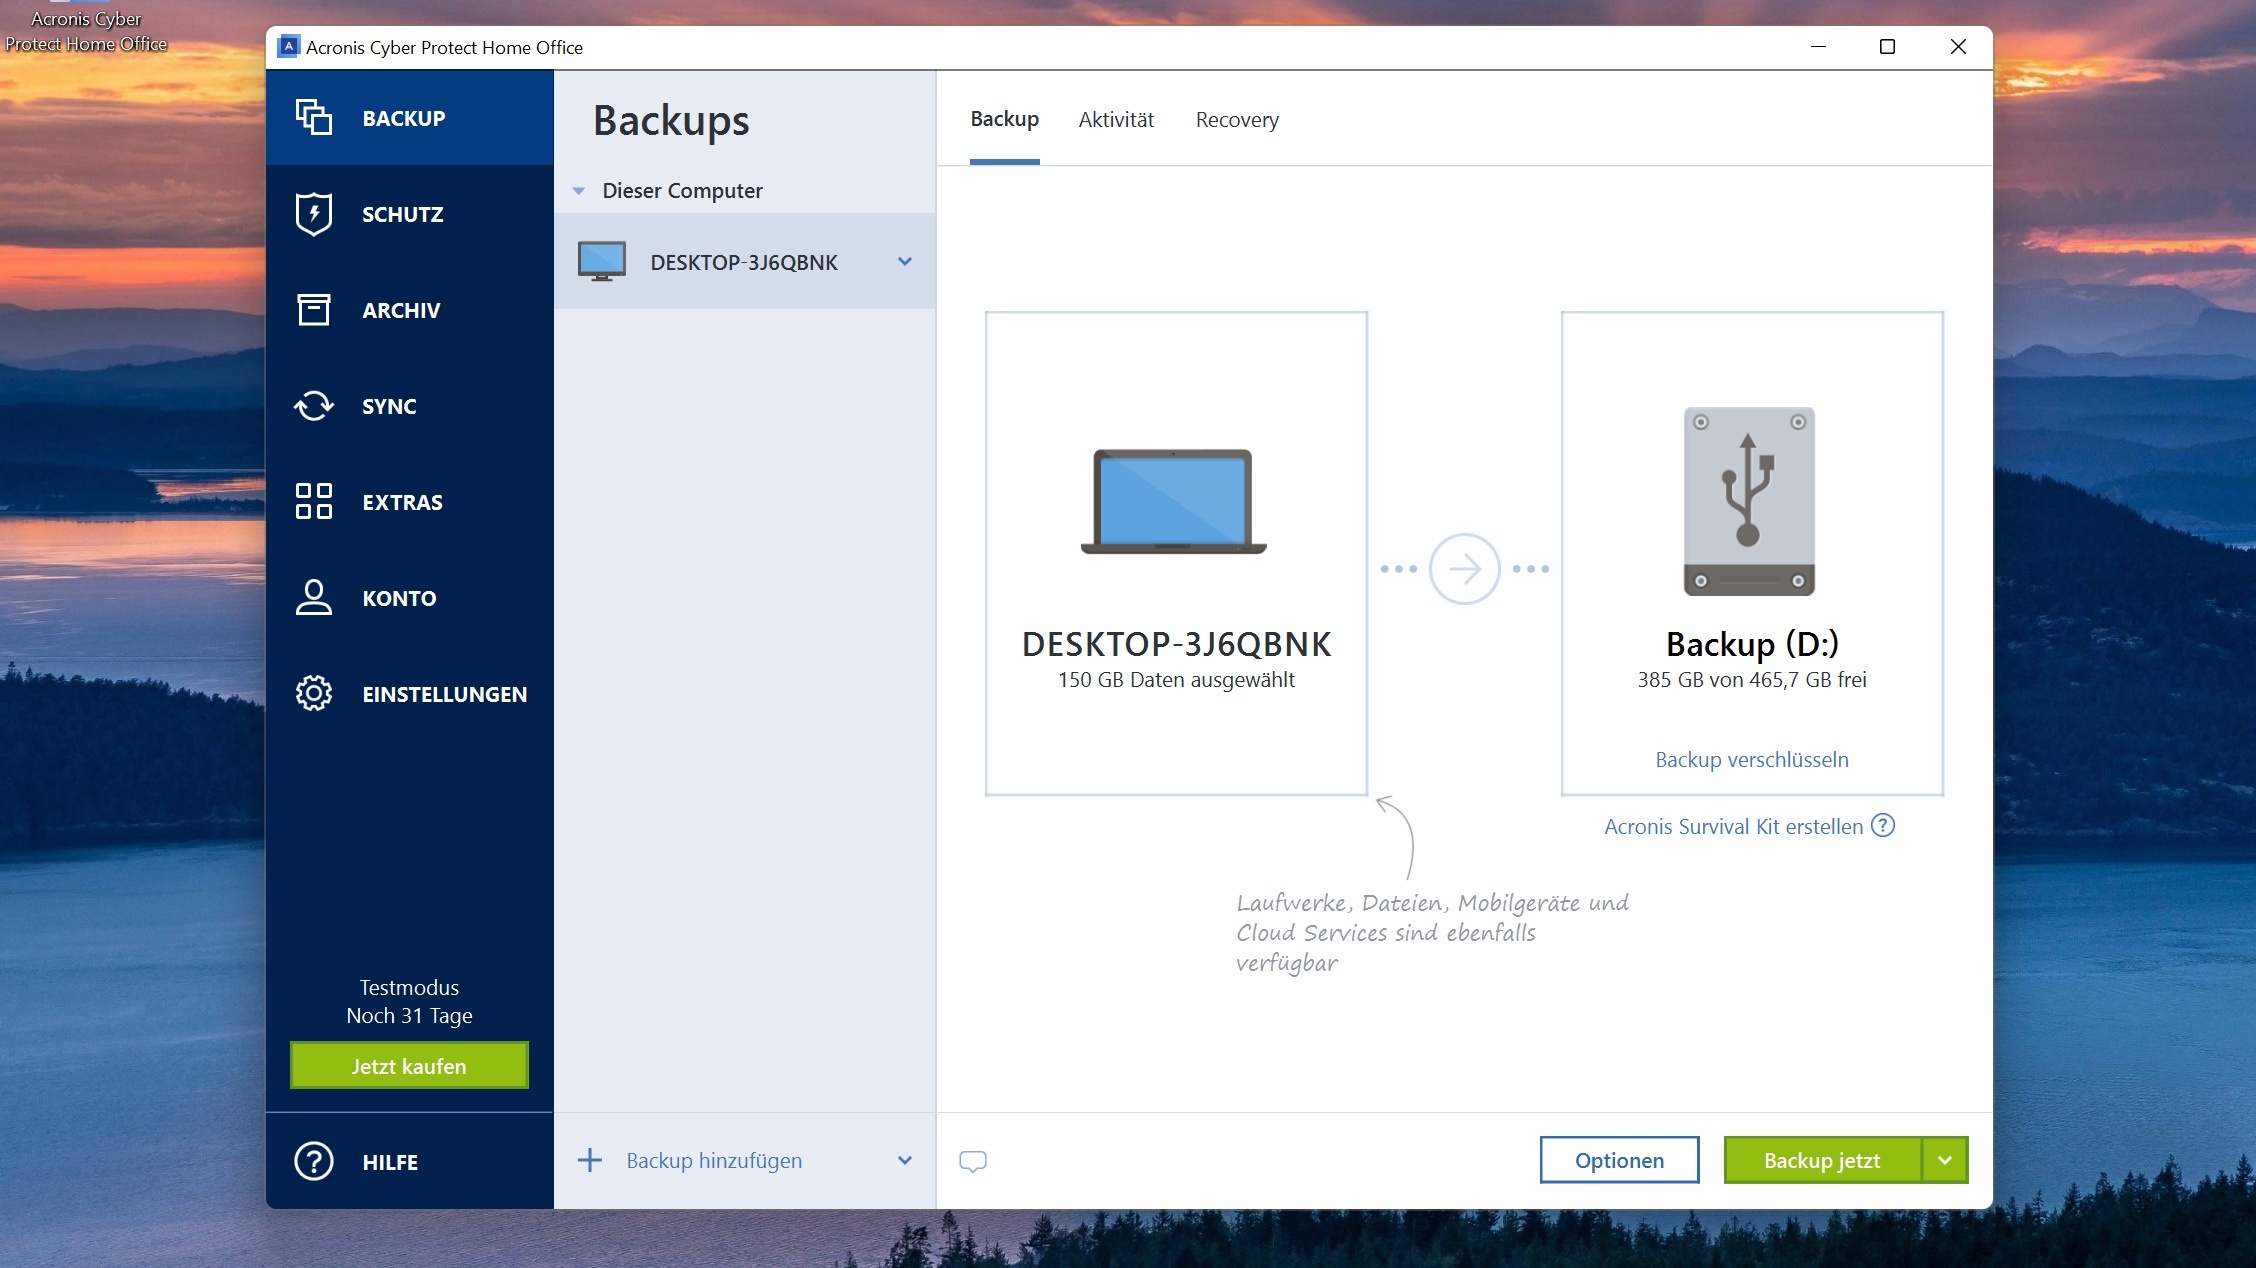
1. **Install and Update Acronis True Image:**
– Make sure you have the latest version of Acronis True Image installed. Check for updates before starting the cloning process.
2. **Launch Acronis True Image:**
– Open the Acronis True Image application on your computer.
3. **Select “Clone Disk”:**
– Look for the option to clone a disk. This is typically found in the main dashboard or within a specific menu.
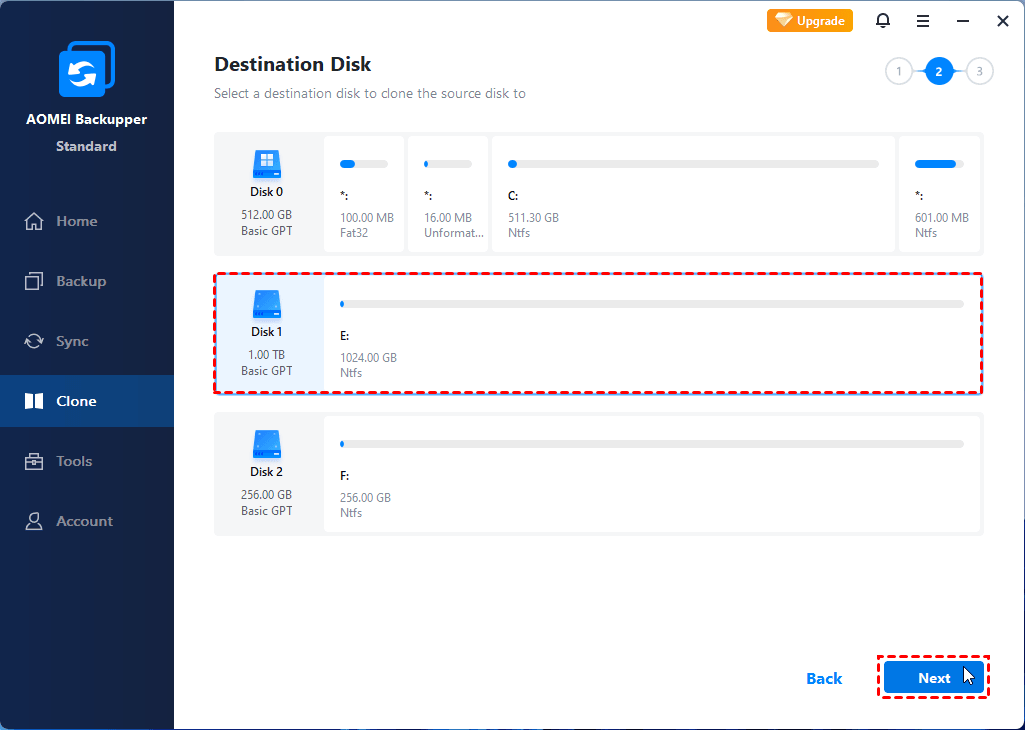
4. **Choose Source and Target Disks:**
– Select the disk you want to clone as the source disk.
– Choose the target disk where you want to clone the data. Ensure the target disk has enough space to accommodate the data from the source disk.
5. **Adjust Partition Sizes (if needed):**
– Some cloning tools allow you to resize partitions during the cloning process. Adjust the partition sizes on the target disk if necessary.
6. **Review Settings:**
– Acronis True Image may offer additional settings and options. Review these settings to ensure they match your preferences and requirements.
7. **Initiate the Cloning Process:**
– Once you are satisfied with the settings, start the cloning process. This may take some time depending on the size of the data being cloned.
8. **Monitor the Progress:**
– Keep an eye on the cloning process to ensure it completes successfully. Acronis True Image usually provides a progress indicator.
9. **Verify Cloned Disk:**
– After the cloning process is complete, verify the contents of the cloned disk to ensure everything transferred correctly.
### Best Practices:
1. **Use a Reliable Disk:**
– Ensure both the source and target disks are in good condition. If there are any signs of disk failure, it’s advisable to replace the disk before cloning.
2. **Disconnect Unnecessary Drives:**
– Before starting the cloning process, disconnect any external drives or unnecessary internal drives to avoid accidental data loss.
3. **Update Drivers and Firmware:**
– Ensure that your system’s drivers and firmware are up to date. This can help prevent compatibility issues during the cloning process.
4. **Clone to an Empty Disk:**
– For a clean and straightforward process, it’s often best to clone to a target disk that doesn’t contain any data. This minimizes the risk of conflicts or issues.
5. **Read Documentation:**
– Refer to the Acronis True Image documentation for any specific instructions or considerations related to your system configuration.
Remember that the specific steps and options in Acronis True Image can vary based on the version you’re using. Always consult the user manual or online resources for the most accurate and up-to-date information.