Acronis True Image is a popular backup and recovery software that provides features for creating backups, disk imaging, and syncing files and folders. Here’s a general guide on how to sync files and folders using Acronis True Image:
### Syncing Files and Folders with Acronis True Image:
1. **Install Acronis True Image:**
– Download and install Acronis True Image on your computer. You can get it from the official Acronis website.
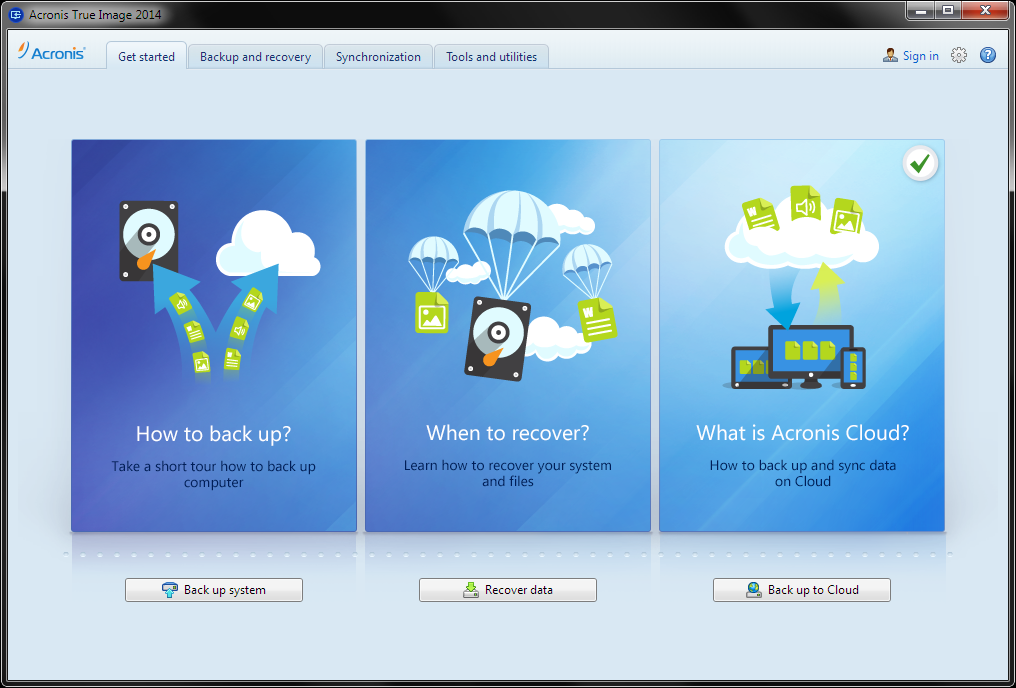
2. **Launch Acronis True Image:**
– Open the Acronis True Image application on your computer.
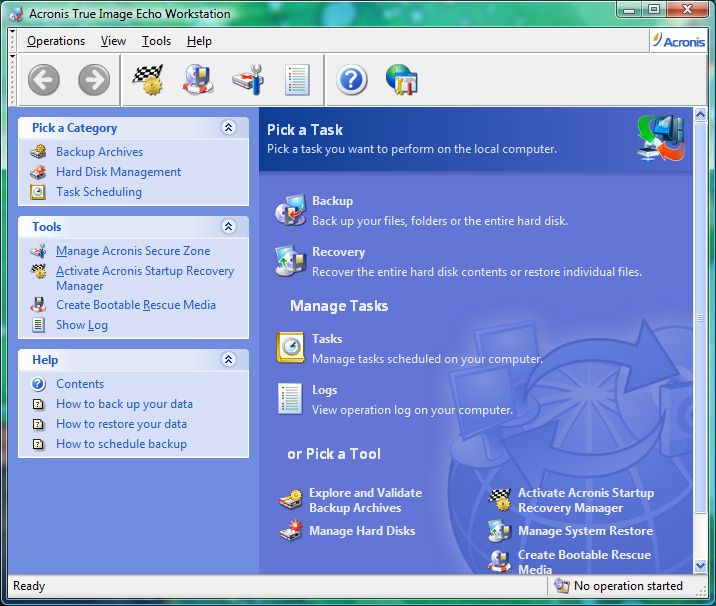
3. **Navigate to Sync Options:**
– Look for the “Sync” or “Sync and Share” option in the main menu. This may vary slightly depending on the version of Acronis True Image you are using.
4. **Create a Sync Task:**
– Click on “Create a new sync” or a similar option to initiate the process of syncing files and folders.
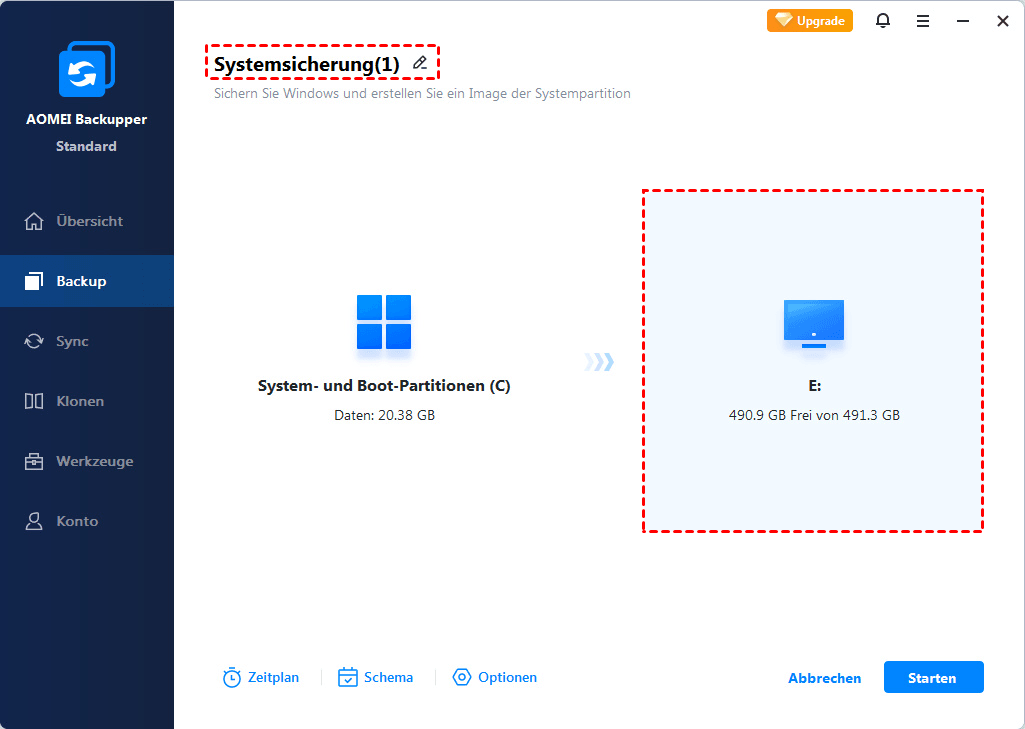
5. **Select Source and Destination:**
– Choose the source folders/files that you want to sync. This is the data that you want to copy or mirror.
– Specify the destination where you want to sync the data. It could be another folder on your computer, an external drive, or a cloud storage service.
6. **Configure Sync Settings:**
– Acronis True Image typically allows you to set up various sync options such as synchronization direction (bi-directional, one-way), scheduling, and conflict resolution settings.
– Choose the appropriate options based on your preferences. For example, you might want the sync to happen automatically at specified intervals.
7. **Advanced Options:**
– Explore advanced options if needed. This could include file filters, exclusion rules, and other parameters to fine-tune the syncing process.
8. **Start the Sync Task:**
– Once you’ve configured all the settings, start the sync task. This may involve clicking a “Sync” or “Start” button depending on the software version.
9. **Monitor Progress:**
– Acronis True Image will display the progress of the synchronization process. You can monitor this to ensure that the sync is happening as expected.
10. **Review and Troubleshoot (if necessary):**
– After the sync is complete, review the results and check for any errors or issues. Acronis True Image usually provides logs and reports to help you troubleshoot if needed.
Remember that the specific steps and options may vary slightly based on the version of Acronis True Image you are using. Always refer to the user guide or documentation provided by Acronis for the most accurate and detailed instructions for your version of the software.