Windows Media Player is a multimedia player and library application developed by Microsoft. While it may not be as prominently featured in recent Windows versions, it can still be used for managing and creating playlists. Here’s a guide on how to create and manage playlists in Windows Media Player:
### Creating a Playlist:
1. **Open Windows Media Player:**
– Click on the Start menu and search for “Windows Media Player” or locate it in your list of installed programs.
2. **Access the Library:**
– Click on the “Library” tab located at the top of the Windows Media Player window.
3. **Add Music to Library (if not already added):**
– If your music isn’t already in the library, you can add it by clicking on “Organize” and then “Manage libraries” > “Music.” Add the folder where your music is stored.
4. **Select Songs:**
– Navigate through your library to find the songs you want to add to the playlist.
5. **Add to Playlist:**
– Right-click on the selected songs and choose “Add to” > “Playlist.” Alternatively, you can drag the selected songs to the “Playlists” section in the left sidebar.
6. **Name Your Playlist:**
– The playlist will be created. Right-click on it in the left sidebar and choose “Rename” to give it a meaningful name.
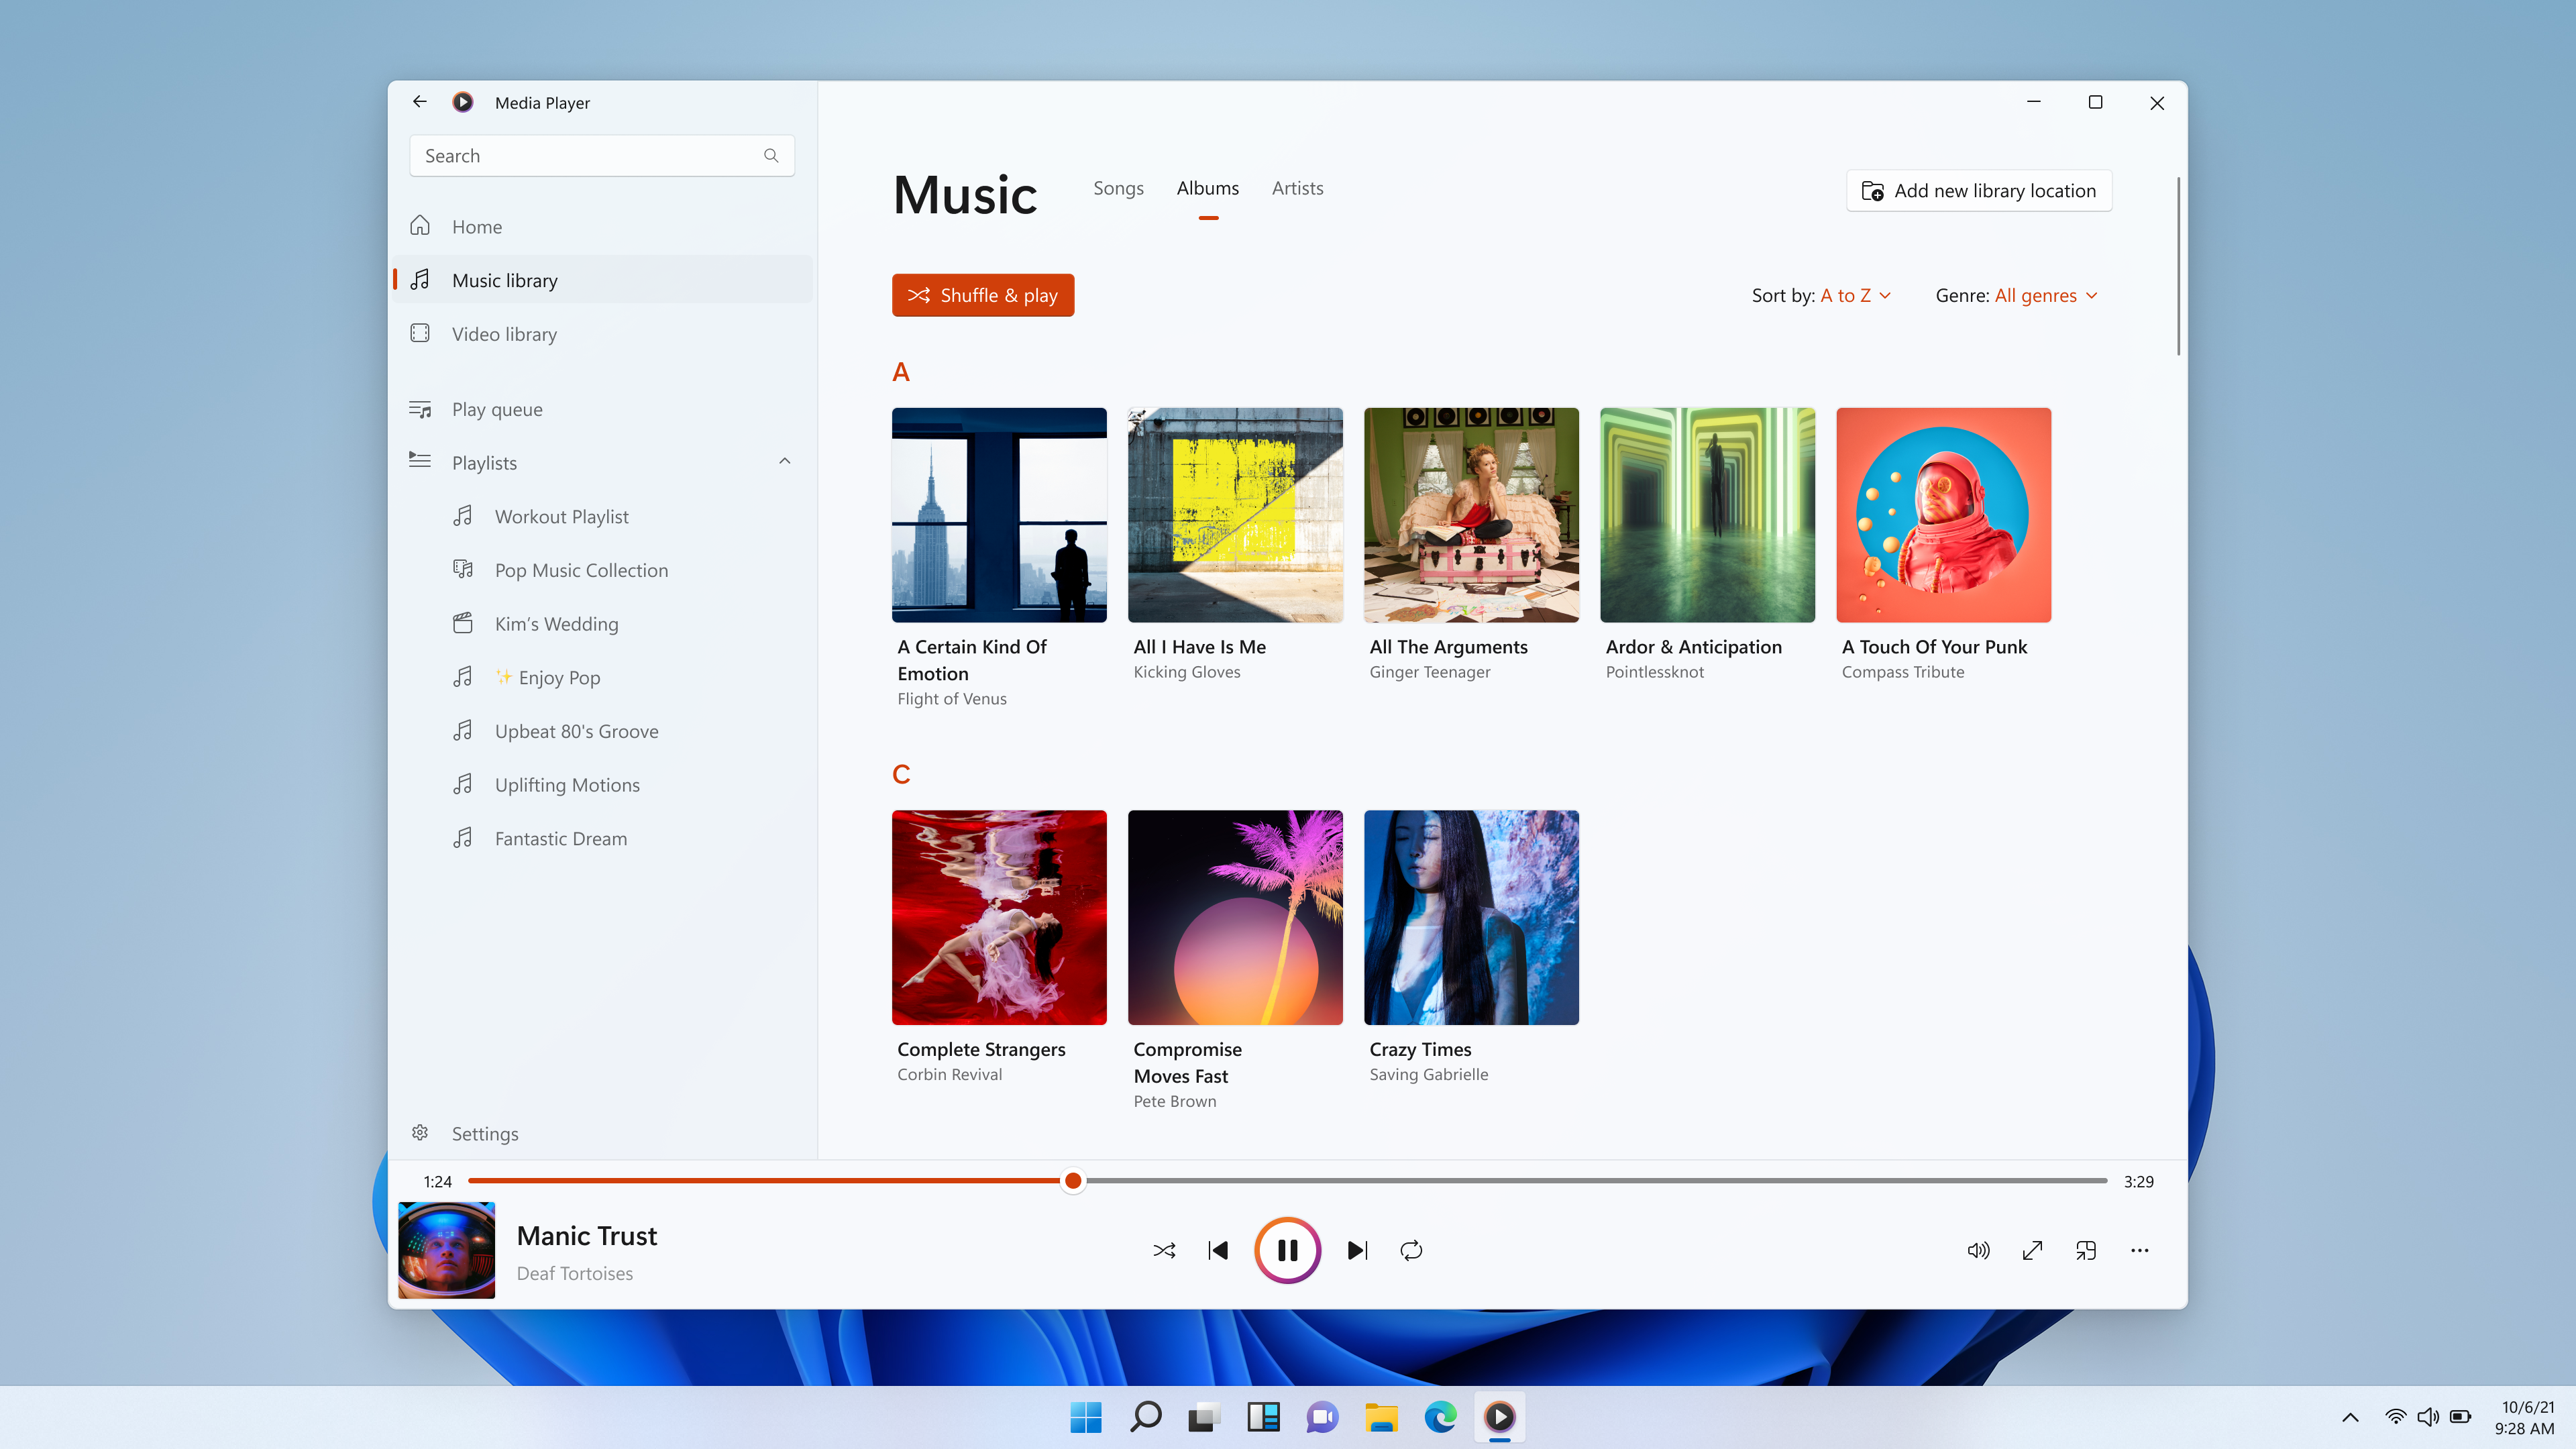
### Managing Playlists:
1. **Editing Playlists:**
– To edit a playlist, right-click on it and choose “Edit.” This allows you to add or remove songs, change the order, and make other modifications.
2. **Deleting Playlists:**
– To delete a playlist, right-click on it and choose “Delete.” This action only removes the playlist, not the actual songs in your library.
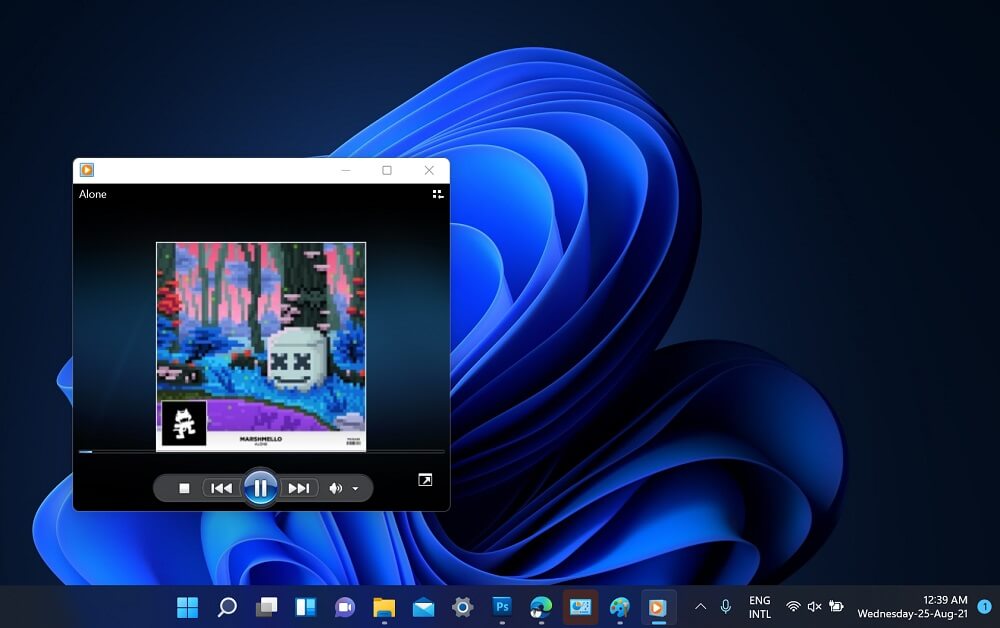
3. **Playlists in Now Playing:**
– You can manage the playlist currently playing by clicking on the “Now Playing” tab. Here you can add or remove songs from the current playlist, shuffle, and repeat.
4. **Auto Playlists:**
– Windows Media Player also allows you to create auto playlists based on criteria such as artist, genre, or rating. To create an auto playlist, right-click on “Playlists” in the left sidebar and choose “Create auto playlist.”
5. **Burn Playlists to CD:**
– If you have a CD burner, you can burn your playlists to a CD. Right-click on the playlist and choose “Burn” to start the process.
Remember that the steps might slightly vary depending on the version of Windows Media Player you are using, but the overall process remains similar. If you’re using a more recent version of Windows, consider exploring other media players like VLC or using built-in apps like Groove Music or the new Windows Media Player app.